Getting Started with Scripting in XR Creator
Introduction to the "Behavior" Elemet
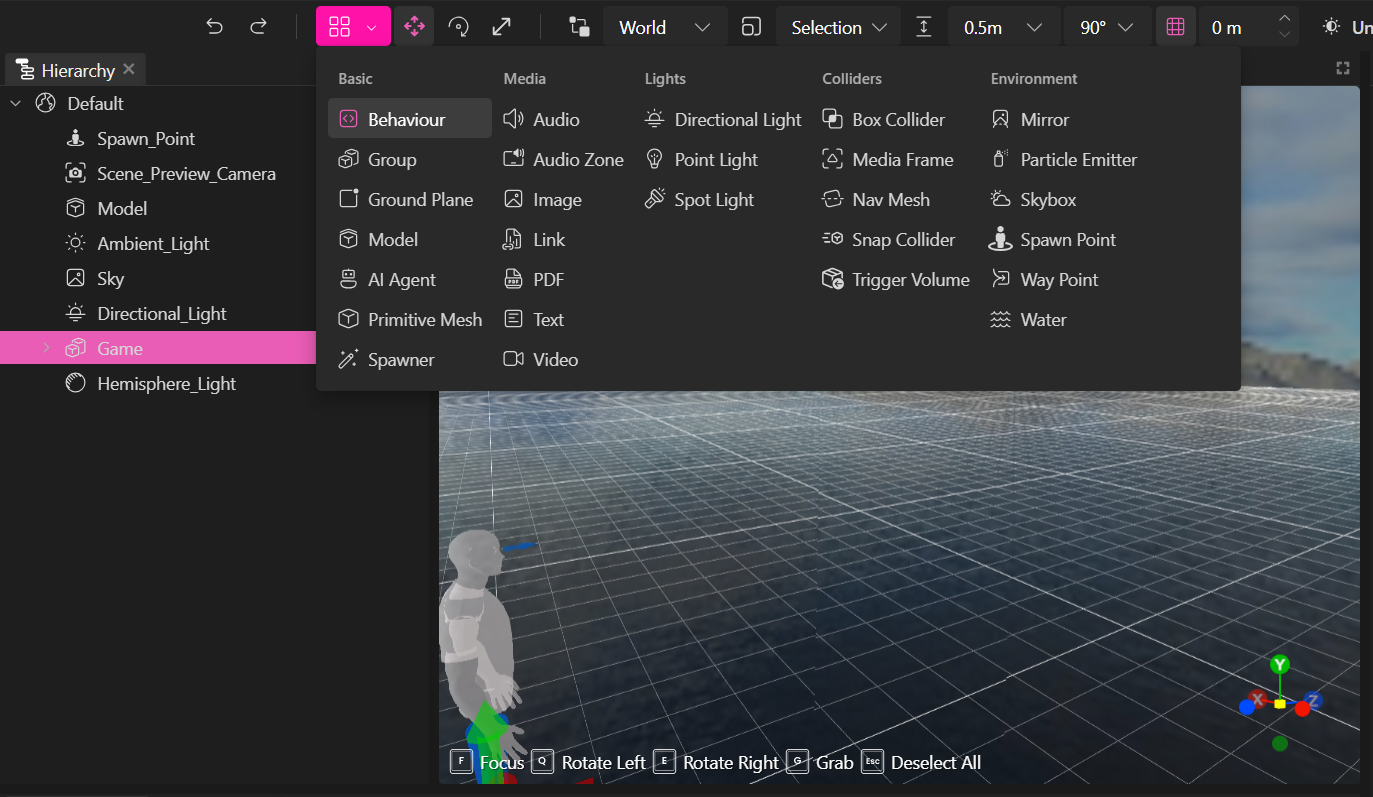
The core building block for adding custom logic through scripting is the Behaviour component. A Behaviour is an element that defines the logic and interactions within your XR project by implementing scripting directives. These behaviors are attached to objects within your scene and are responsible for determining their actions, animations, and reactions based on your script. You can think of a Behavior as the "brain" of an object in the scene. It processes logic written in the scripting language and defines how objects interact with the environment and other objects.
Scripting Language
We use a simplified, sandboxed subset of JavaScript. This subset is optimized for the XR Creator environment and is designed to be easy to use for both new and experienced developers. While this subset is JavaScript-based, it’s extended with additional capabilities, allowing you to script more complex behaviors and interactions.
One of the most remarkable features of the scripting language is the preprocessor. This preprocessor can modify and extend the behavior of scripts by adding features like variable substitution, conditional processing, and custom transformations before the script is executed.
The scripting context within XR Creator also supports GLSL (OpenGL Shading Language) alongside JavaScript. This integration allows you to write custom shaders directly within the same scripting environment. With GLSL, you can define sophisticated visual effects and rendering logic, opening up more possibilities for dynamic and interactive graphics in your XR projects.
Writing Your First Script
Here’s a step-by-step guide to help you get started with scripting in XR Creator:
- Create a Behavior Element:
In the XR Creator Editor, click the Create Element button and select Behavior from the list of available elements.
The Behavior element will be placed in the scene hierarchy. You can drag and drop it into the desired position within the scene structure, attaching it to an object or entity where you want the custom logic to be applied.
- Write the Script:
Select the Behavior element in the scene hierarchy, and the Code Editor will pop up. This editor allows you to write your script using both JavaScript and GLSL, depending on the task at hand.
The Behavior element offers lifecycle hooks such as
start,update, anddestroy, which you can attach your logic to in order to achieve specific results.- start: This hook is called when the Behavior is initialized, and it’s ideal for setting up initial states or loading resources.
- update: This hook runs on every frame and is perfect for continuous logic like movement, animations, or checking for user input.
- destroy: This hook is invoked when the Behavior is removed or the object is destroyed, allowing you to clean up resources or stop ongoing processes.
For example, you might want to move an object continuously, which could go in the update hook, or set up initial properties for an object when the scene starts, which would go in the start hook.
- Run the Script:
- After writing your script, you can test it by pressing the Preview button within the editor.
- XR Creator will compile and execute your script, allowing you to see how the object responds to the logic you've defined in the Behavior component.